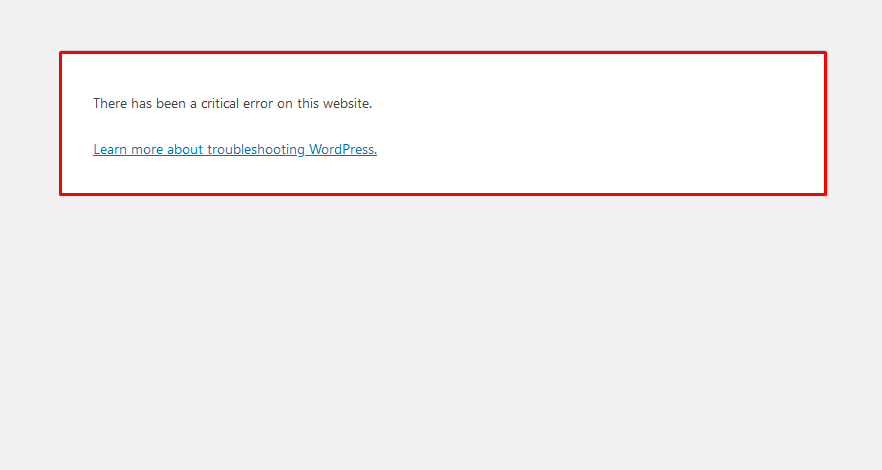
Nothing is more terrifying than when your WordPress site goes down, especially when you get an alarming message like “There has been a critical error on this website.”
Try a free demo
When you’re locked out and the frontend is entirely down, you need to know how to fix the critical error now. Every minute that passes is driving away visitors as they encounter a glaring error screen.
Luckily, fixing this critical error is usually just a matter of adding a small PHP function or deleting a problem plugin. Here we’ll go over a variety of ways to troubleshoot this issue and get your site up and running again fast.
How to Fix the Critical Error on WordPress Website
You’re here to get your site up and running again, and to that end, we’ve collected several different potential ways to fix the issue. Knowing that the cause is likely PHP-related, these may involve editing core WordPress files. Even with your site in a broken state, make sure to back it up before implementing any of these suggestions, as we don’t want to make it worse!
If you’re able to log in to your website’s backend, that will help immensely. But as your entire site is likely down, you’ll very likely need to access it through FTP (or SFTP).
Contact your web host or look through your hosting dashboard to find your FTP login credentials, and make sure to install an FTP client like FileZilla. This guide on connecting to WordPress over FTP can help too.
Enable Debug in WordPress
If you’re having trouble with WordPress, one of the first things you should do is enable debugging. With debug mode on, you’ll be able to see the various PHP errors occurring on your site, and you can use this to trace back to the root of the issue.
As you may be unable to access your dashboard, you’ll also need to enable the debug log. This will write all PHP errors to a file.
If you’re hosting with Rubel Hossain or others company, enabling debugging with IMRUBELHOSSAIN or others company is very easy. Just log in to the hosting dashboard, then go to Sites > Tools > WordPress debugging and click Enable. You can then look around your site to find the cause of the issue or check the log. Make sure to disable debugging when you’re done, as it’s visible to your visitors as well as you.
If you need to manually turn on debugging, or you need to access the debug log, follow these steps.
Step 1: Connect to your site with FTP.
Step 2: Find wp-config.php in the root folder and open it with a text editor or IDE.
Step 3: Place the following code at the bottom of the document, just before the final message, then save and close the file:
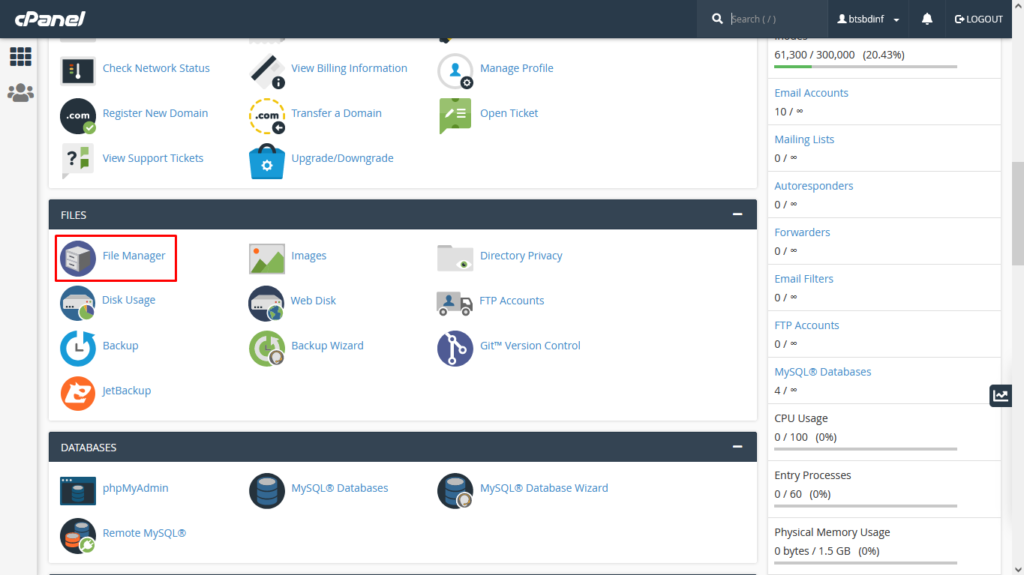
a. In your cPanel, navigate to the Files section, then look for File Manager.
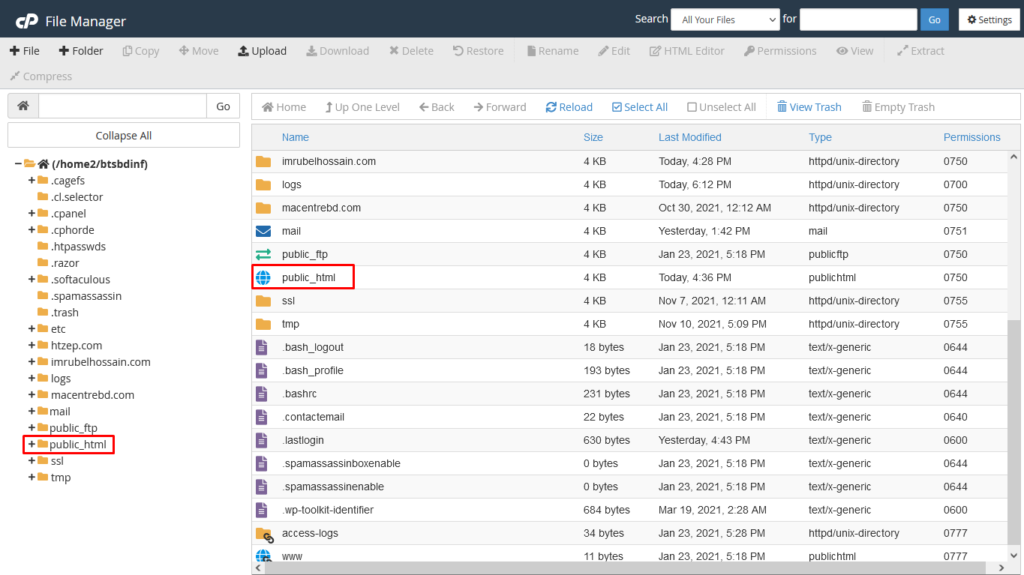


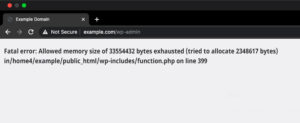
First you need to edit the wp-config.php file on your WordPress site. It is located in your WordPress site’s root folder, and you will need to use an FTP client or file manager in your web hosting control panel.
Next, you need to paste this code in wp-config.php file just before the line that says ‘That’s all, stop editing! Happy blogging.’
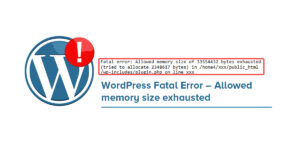
This code tells WordPress to increase the PHP memory limit to 256MB.
Once you are done, you need to save your changes and upload your wp-config.php file back to your server.
You can now visit your WordPress site and memory exhausted error should disappear now.
j. Click Save Changes on the upper-right side.

